If you have been thinking about starting a multi-topic or multi-niche blog, I say: DO IT.
I can’t emphasize enough just how much of an amazing experience blogging has been for me over the last nine years and counting.
Blogging may seem overwhelming and appear to be a ton of hard work (and don’t get me wrong, it sure can be a lot) but at the end of the day, it is so incredibly rewarding to have a blog where people stop by, read your work, engage in conversations, and maybe even explain how something you have written has left an impact on them in some way, shape, or form.
Share This Free Resource
If you are considering starting a multi-topic blog, you may be wondering where to begin. I know the technical details can be super confusing so I created this free resource: “How to Start a Multi-Topic Blog Guide” to walk you through it all step-by-step.
By the way, I’m Rocky. The most awkward and peculiar multi-topic blogger on the internet.
I hope you enjoy this guide that I put together from the beaches of Mexico!

Bloggers all around the web will advise you to select ONE niche before you get started. They treat it as a basic blogging fact.
Today, I’m here to tell you that while single niche blogging may be easier in some ways to start off with and faster to monetize in the early stages, it isn’t the only way to achieve blogging success.
It is wise to position yourself as an “expert” in whichever field you choose to focus on. For this reason, a lot of people decide to demonstrate expertise in one, single area.
Let me be honest and direct with you: blogging on a sole, single topic can get very old, very fast. How can you expect to succeed long-term if you’re bound to burn out six months from now? Of course, no one expects that to happen, but it is human nature to lose motivation over time.
How to Start a New Blog
Our attention needs to be captivated. I couldn’t imagine myself keeping this blog up and running for years if all I wrote about was one topic.
I think having my blog online for more than nine years is a testament to that. Life happens: we grow as people and develop new interests.
You might think, “This looks like a travel blog to me.” Remember, you’re seeing the byproduct of years of evolution! Travel is my primary interest right now.
I started this blog while I was a student in high school! I was writing blog posts about things I was doing after school and on the weekends. Then I blogged about my life during college for four years. But guess what! Now, my college years are a thing of the past and my blog has ADAPTED yet again! My complete archive shows this pretty clearly.
I’ve written about psychology, animals, birds, romance, entertainment, movies, books, and more on here! That’s why I’m sometimes reluctant to even use the label “travel blog.” I guess in 2022, if I had to categorize my blog, that’s what I’d now choose.
For bloggers who have diverse interests just like me, going the multi-topic route will increase your chances of achieving success. To reiterate, I believe niche blogging is a great option for experts, but the reality of the matter is that most new bloggers risk burnout. It is a fact that many people quit within their first year. The more topics and areas you open yourself to, especially early on, the lower the chance of giving up becomes.
You do not have to settle for a blog about just one topic.
A multi-topic blog can also be successful if you approach it the right way. It’s about striking a balance. Start off broad, find your topics, and then DIVE IN! Note: You want to begin broad enough that you can discuss many things without appearing like your blog lacks purpose. It is possible to find a middle ground. You simply need to have separate sections to neatly and clearly divide your work. Think of your blog as an umbrella with smaller niches within it. It’s possible to do this!
Are you still up for the challenge? If so, let’s begin! 🙂

Your blog name is where your blog begins. This is what you will promote, link to, and share with the WHOLE world. Choose wisely. You want your blog’s title to be something people can easily interpret, understand, and remember.
The Rocky Safari is a spin on my real name: Rocky Trifari. It was chosen because it rhymes, implies adventure, and has an extended meaning that ties in with the theme of my blog. In the Swahili language, “safari” means “journey!” My blog is all about my journey. A great fit, wouldn’t you agree?
Choose something FUN for your blog! Be creative with it. You don’t want to change it later (it is a lot of work to do that, trust me. I’ve been through it…) so if you can, pick a good name to start with! If your blog is going to discuss multiple topics, make sure the name isn’t too specialized so you have the flexibility to tie in all of the topics you hope to blog about.
Register Your Domains Hassle-Free with Namecheap starting at $3.98/year
To host your own blog, you can sign up for hosting with Bluehost or Siteground.
Get Discounted Hosting with Bluehost
For most bloggers, this is where it starts to get a bit confusing. “Hosting? What’s hosting?” Don’t worry if you feel that way, it is normal. I know I felt that way at first. If you do decide to use Bluehost (which I recommend since it is both inexpensive and easy to use) you can sign up with the button above to gain instant access to EVEN LESS EXPENSIVE HOSTING. Did I mention Bluehost’s customer service is OUT OF THIS WORLD? Seriously.
Essentially, “hosting” refers to the place where you store and serve your website. The gateway people contact when they “open” your blog in their browser. For a new multi-topic blogger, a hosting plan needs to be fast, secure, easy to use, and affordable.
True story: When I was building my blog, I called Bluehost’s customer support line on a near-daily basis. I was a regular on their phone line, (unfortunately for them)… Tons of questions. Tons of problems. I had no idea what I was doing back then. I liked to experiment and sometimes I got myself a bit too deep into trouble. I’d break my website and get it knocked offline. Over and over again.
Bluehost always came to my rescue and fixed the problem within minutes. For your benefit, I have a Getting Started With Bluehost mini-guide below to make it easier for you to get started. Again, you can call up Bluehost with any question you may have and they will go to extreme lengths to help you out so PLEASE do not worry. It will be okay!
I actually started using Siteground once my blog grew in popularity. I did start with Bluehost though and I have used them quite happily while entering the world of self-hosted blogging. For more details on the switch, read: Why I Switched From Bluehost to Siteground. If you want to start with Siteground instead of Bluehost, these next few steps are similar so you can still use my guide to get started. Siteground’s customer service is also outstanding so they can help you too!
Related Article: The Ultimate Guide to Web Hosting for Blogs

Hosting is a necessary step to be able to fully own, control, and create your own blog. Enjoy it while it is cheap because once your blog gains a lot of traffic, it becomes much more expensive to host a website. I can tell you from personal experience with my other websites that both Hostgator and ASmallOrange are horrible and I will never use them ever again.
For the best pricing, click this button to sign up:
Purchase Discounted Bluehost Hosting
Because I started by hosting my blog with Bluehost and had such a positive experience using them, I highly recommend you get started with them too.
To Sign Up For Hosting, Follow These Instructions Step-By-Step
First, click “Get Started.”
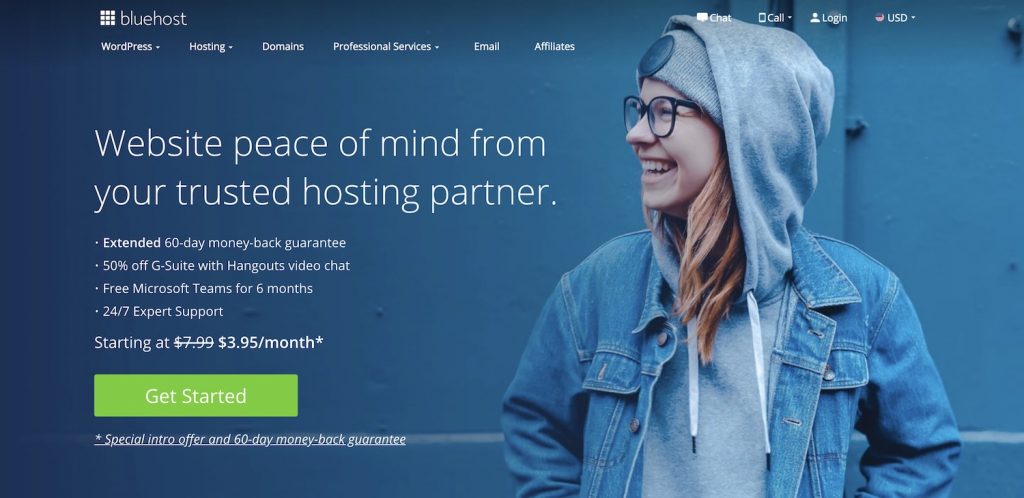
Select your plan.
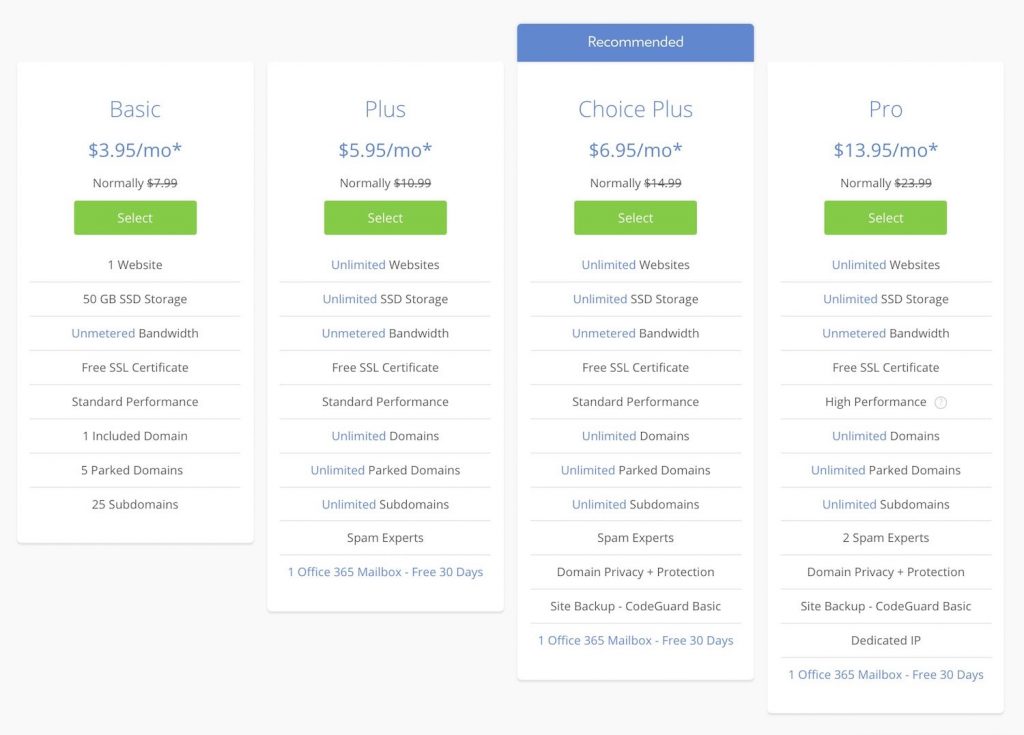
Choice Plus is a solid, excellent plan to begin with if you value and prioritize speed and performance above all else. If you are okay with paying a bit more, begin there.
For most of you, I would recommend choosing the cheapest option (currently) at $3.95 per month. For now, you are just getting started with your blog so I think that it does not make much sense for you to pay any more than you have to. Plus, you can always upgrade your plan in the future.
Then check if your desired domain name is available.
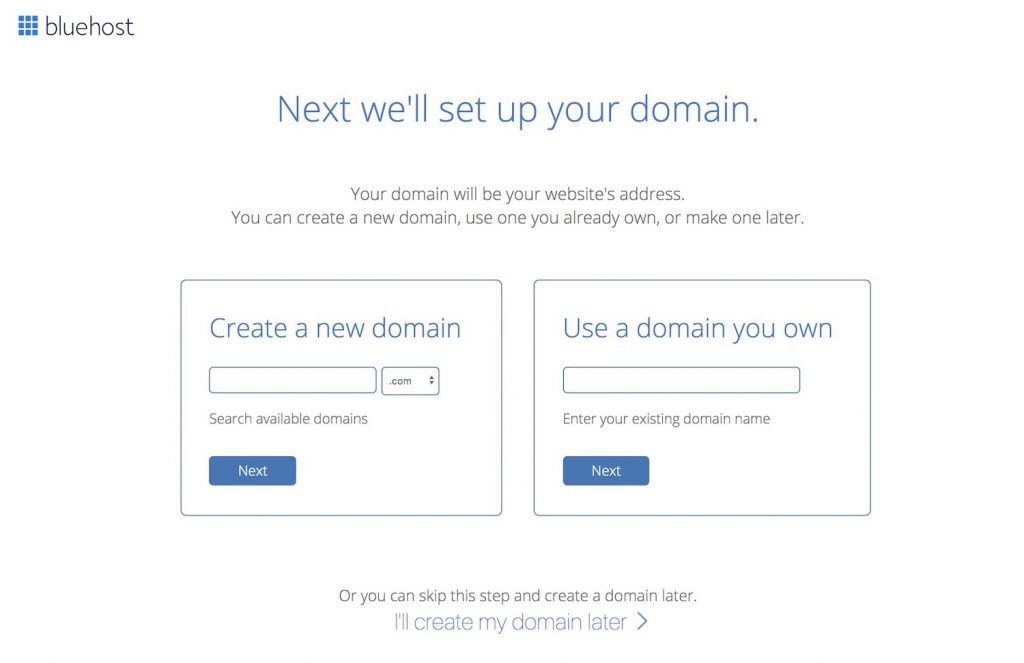
I recommend getting a good domain name at Namecheap because their prices are the most competitive that I’ve come across so far.
Register Your Domains Hassle-Free with Namecheap starting at $3.98/year
If it is not, return to the beginning and brainstorm additional ideas. Do not rush. Also, there are a ton of new domain extensions like “.rock” or “.ninja” that seem awesome at first glance. While they may work just a well as a “.com” or “.org”, society is still a bit stuck in the “.com” mentality, and using anything else may do more harm than good.
If you already own a new domain name, you can add that one here.
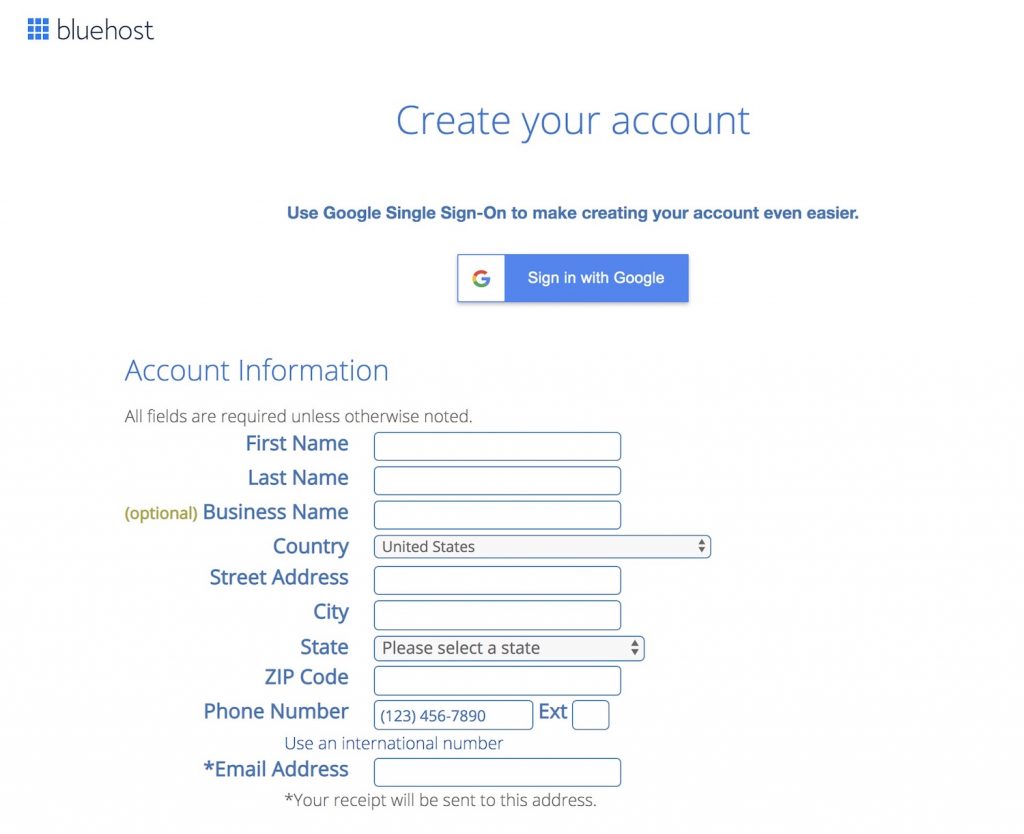
Next, enter your account information.
Finally, complete your package information.
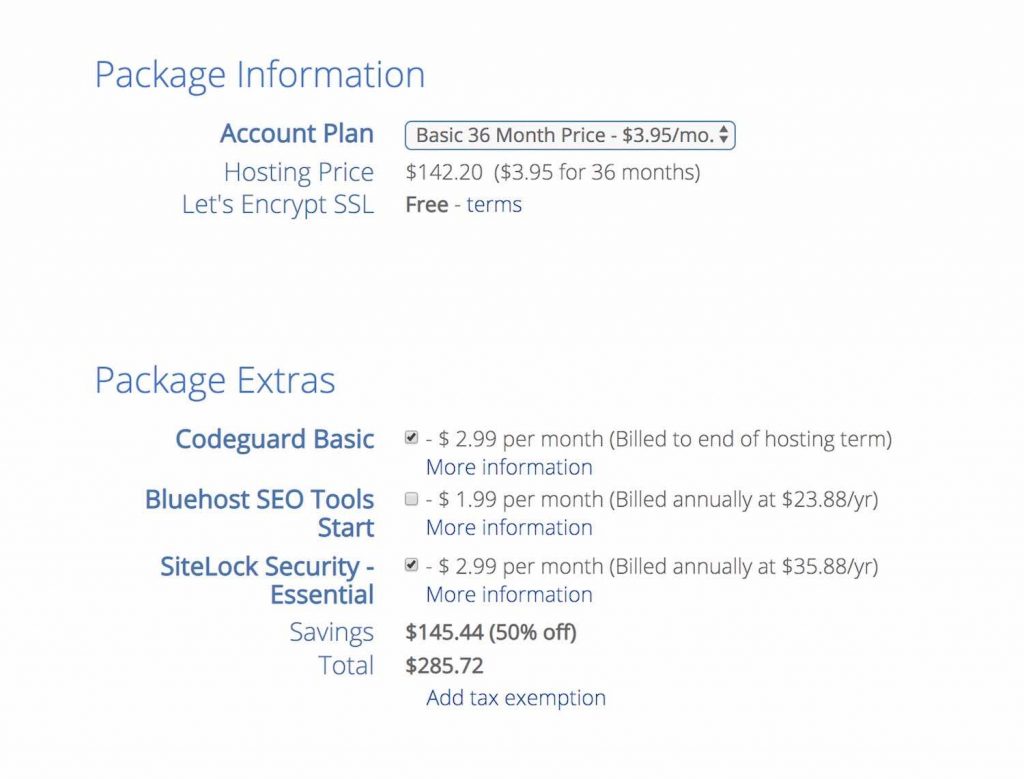
At this point, if you’re new to blogging, I would recommend choosing the 12-month plan as well as the domain privacy option. Mathematically, it works out to be a little more expensive than purchasing 36 months upfront but you never know what might happen down the line. Don’t get stuck paying more a website that you might not want to keep a year from now. If you’re a new blogger, test the waters first. On the other end, you could choose the longer option so you pay less overall and if you decide to cancel, you might qualify for a prorated refund.
In the future, you can always select a long-term option the next time around once your website is established. As far as the privacy option goes, you don’t want annoying spam mail from anyone so it is better to keep your information locked up safe.
And there you have it! Your hosting is all setup! Great job.
FREE PASS! If you’re using Bluehost, SKIP TO STEP 4!
At one time, you would log in and see a screen that looked like this. You needed to “Install WordPress,” but things have changed. Bluehost is focused on creating the best user experience possible so as of 2017, new accounts come with the installation already set up!
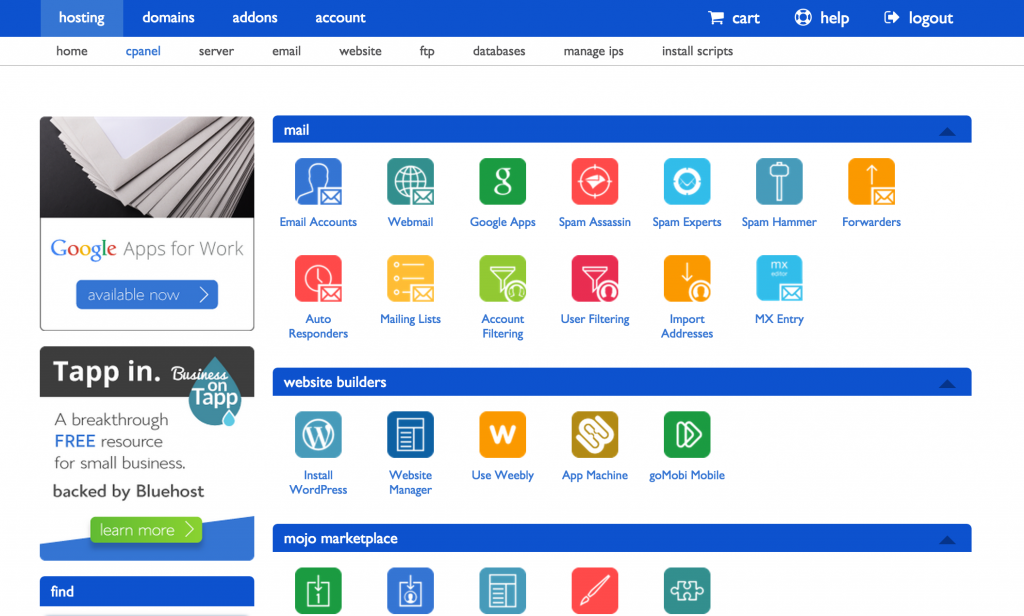
You don’t need to do anything to get WordPress installed. They’ve chosen to make it even more simple for you! Thank you, Bluehost.
While logged into your new Bluehost account, you can now open your WordPress Dashboard and you should be good to go.
WHO KNEW YOU WOULD GET A FREE PASS IN THE PROCESS? Skip right along to Step 4!
After that is finished installing WordPress, you will log into your new blog by going to www.YOURNEWBLOG.com/wp-admin. This brings you to the Administrator’s page where you can access your website’s dashboard.

Enter your username and password. Boom! You’re in!
Now for the fun part!
You get to select which theme you would like to use as the foundation for the blog you will soon build. Don’t worry. It takes time to make your site look exactly the way you want. I have been blogging for years and I switched my theme five times before finding one that I finally fell in love with. Remember, this is a process.
Whether you want to use a free theme or paid theme is up to you and your budget. Once you do commit to a theme, you will have to install it on your site. Themes usually come with installation instructions so it shouldn’t be challenging if you follow them. In most cases, you will log into WordPress, click “Appearance”, then “Themes”, and finally, “Upload” up top where you can attach the file for your new theme and be on your merry way to begin blogging!
If you are artistic, feel free to draw something and scan it. If you have any graphic design abilities, create a logo in Photoshop or Illustrator. Even a screenshot of a simple text will do. You’ll want some type of logo for your website.
Another option is Fiverr.
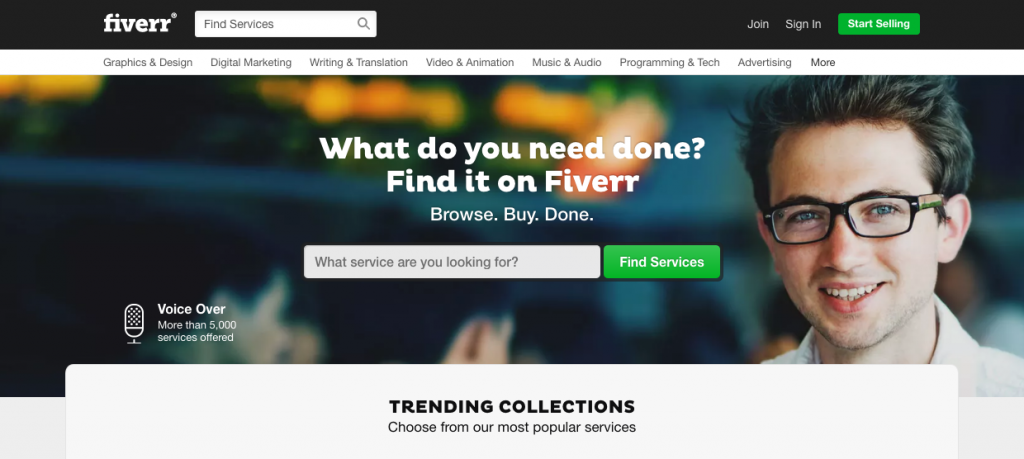
If you want someone to make one for you, you could use Fiverr where you’ll pay just $5.00 for a custom-made logo.
However, I will warn you, I have yet to have anything amazing come from a sale on Fiverr. Use them with caution and understand that the more you pay for someone’s service, the better the design you’ll likely receive. I paid $35 for a design once and I was happy with the outcome! The $5 project… not so much. It’s like they say: you get what you pay for. Fiverr really is a great platform though. I have friends who have had wonderful luck using them.
Plug-Ins make the world of a difference in what you can do for a blog. Want an interactive map like the one on my homepage? There’s a plugin for that! Looking for a more detailed form on a specific page? You can definitely get a plugin for that. There are plugins for just about ANYTHING. Honestly, ask and you shall receive. New plugins appear EVERY DAY.
Pro Tip: Don’t go too crazy because an excessive number of active plugins can slow down your website.
Every blog begins somewhere. The first thing you’ll want to write is your About Me page which essentially tells readers who you are and what purpose your blog serves. Feel free to be creative at this stage and show your personality! Tell the world who you are. This page should be creative and unique and it should give readers an immediate sense of who you are.
On my blog, I have an About Me and an About My Blog. My “About Me” page explains my personal background and who I am. (I update it annually so often but it was first written in 2013.) My “About My Blog” page explains where I’m going; it is future-oriented. The choice to do both was a personal decision and you can do whatever you would like with your own blog. My suggestion is to start simple and focus on just making an “About Me.”
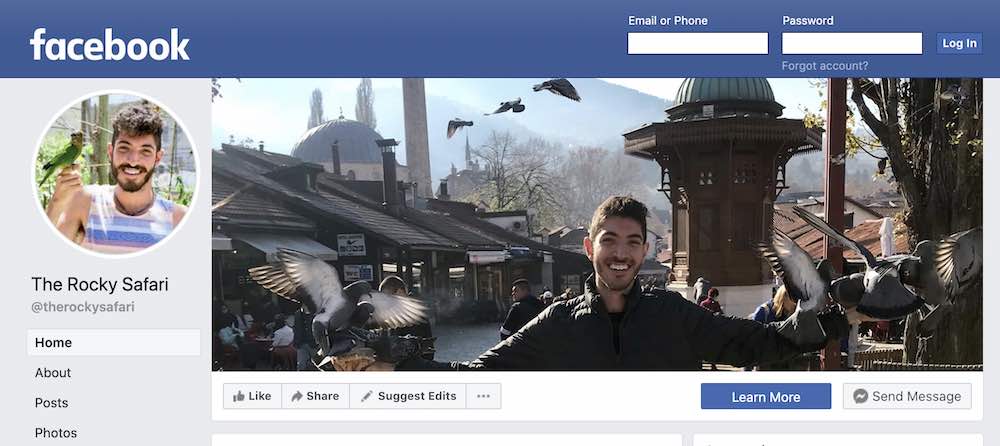
If you want to build a large following, you’ll want to collect e-mails and network on social media. Make sure you set up a Facebook page and Twitter page at the very least. Some bloggers go social media crazy – I think Pinterest, Instagram, Facebook, and Twitter are all you really need so those are the only services I use. You may find better luck on other platforms – feel free to experiment with what makes sense for your audience.
For social media, automation is key. Make it happen automatically so you can work smarter and not harder. I suggest using Tailwind for marketing on Pinterest and Instagram.
Tailwind is what I use to schedule posts and I love it.
For some social media tips, check out my Blogging Resources page!
I love to use ConvertKit to collect emails because if you operate a multi-topic blog as I do, ConvertKit allows you to “tag” your email subscribers into categories. (You’ll see a real example once you reach the end!) You’re welcome to join my mailing list if you’d like.
Of course, the most important final step is to produce quality writing! You’re all set to start publishing your very own posts now. I want to wish you the best of luck blogging because I know you can do it. Dedicate yourself now and you will succeed. If you have any questions along this journey, feel free to reach out to me for help. I’d love for you to also leave a comment below if you found this tutorial helpful. I can’t wait to see your new blog!
GOOD LUCK! 😀
Update 10/22/2017 – My website is now hosted over at Siteground. I explain why I switched from Bluehost to SiteGround in this post. Purchase discounted SiteGround hosting HERE.

Originally published on October 15, 2016, by Rocky Trifari.
Last updated on July 30, 2023.
Updates:
02/18/2018: As of 2018, my blog has been online for 5 years! I have honestly learned so much since the day I first got started. Please take my word for it and give it a shot. Blogging can change your life.
06/2/2021: I have updated my guide once again with the latest and most relevant information applicable in 2021. Definitely take a look at which products I recommend. You can take advantage of the discounts and special offers! Best of luck to you! Hope all of this information helps!
01/23/2022: My blog has been online for 9 years! In my recent blog post, I go in-depth about why you should start your blog! In my post, I write about 9 lessons I have learned from blogging professionally for the past 9 years.
02/13/2022: Check out these resources in my Blog Resource Library to help you get started!
Blogging Resources
Helpful? Pin it!