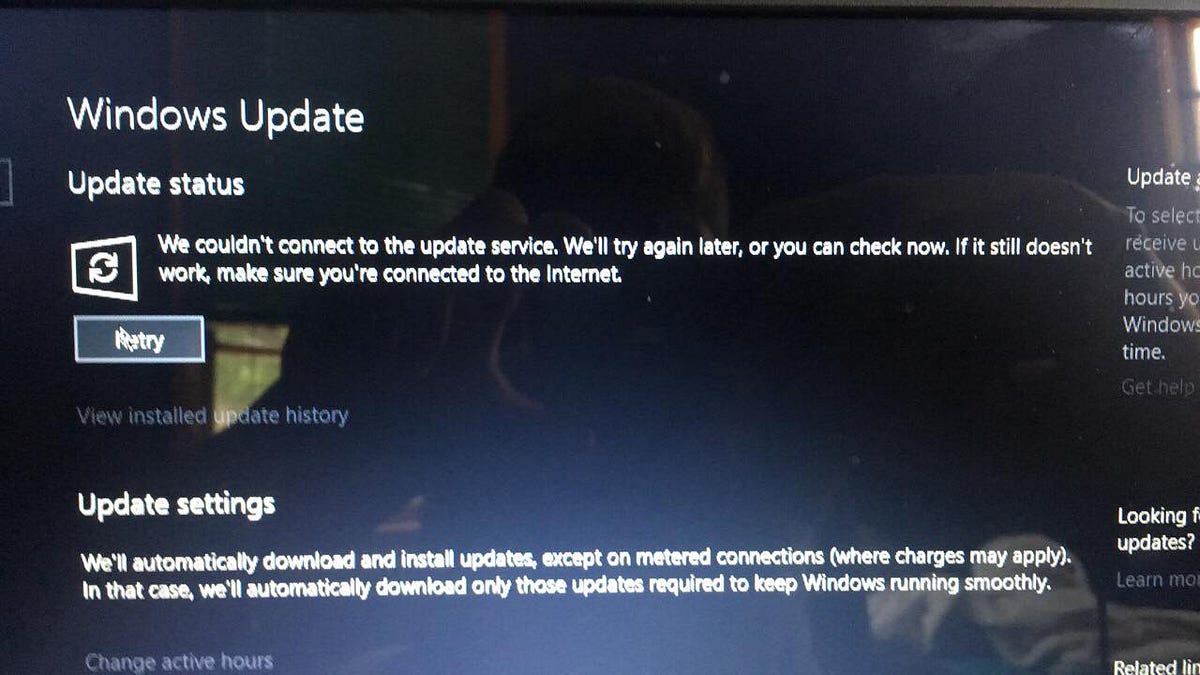

Getting Error “We couldn’t connect to the update service. We’ll try again later, or you can check now. If it still doesn’t work, make sure you’re connected to the Internet” while installing Windows updates. Clicking the Retry button results in the same issue: Windows 10 update fails to install the latest updates. Also, users report they have a valid internet connection. Other apps and web browsers display web pages but only while checking Windows updates its results We couldn’t connect to the update service.
So if you’re sure you’re online or connected to the web and all your apps can work with the Internet but you still can’t check for Windows Updates, here are some applicable solutions to address the issue.
Open Settings -> Time & Language -> Select Region & Language from the options on left. Here, verify your Country/Region is correct from the drop-down list.
Completely uninstall the antivirus program or any other security program from your system.
Start Windows into clean boot state and check for updates from settings -> update & security -> Windows update and check for updates. This will fix the issue, Download and install Windows updates if any third-party application is causing the issue.
Change DNS Address
Domain Name System (DNS) makes it possible for you to open websites and access internet services. The DNS directs your computer to access a service, and problems with the DNS can make services such as Windows Update temporarily unavailable. And you can fix this “we couldn’t connect to the update service error” by changing the DNS settings on your PC. You can switch to Google DNS or Cloudflare’s privacy-focused DNS to address the Windows Update issues.
- To change the DNS settings on your Windows 10 device, do the following:
- Press Windows + R, type ncpa.cpl and ok
- This will open the network connections window.
- Right-click the network interface which is in use.
- For example, right-click the connected Ethernet adapter displayed on the screen. Select Properties.
- Double-click on Internet Protocol Version 4 (TCP/IPv4) from the list to get its properties window.
- Here, selectthe radio button Use the following DNS server addresses
- Preferred DNS server 8.8.8.8
- Alternate DNS server 8.8.4.4
- Click on validate settings upon exit and ok
- Now check for updates, there is no more Update service error
Run Windows Update Troubleshooter
Open Windows Settings ( Windows + I ) > Update & Security > Troubleshoot. Here you find different troubleshooting tools to fix different problems. look for Windows update troubleshooter click on it and run the troubleshooter button. This will attempt to identify if any problems exist which prevent your computer from downloading and installing Windows Updates. After completing, the process Restart Windows and again manually Check for Updates.
Restart Windows Update Service ( And its related services )
On Start menu search type services.msc and hit the enter key to open Windows services. Here look for Windows update service, If its running state simply right-click on it and select restart. If it’s not running then right-click and select start the service. Now double click on Windows update service to get its properties. Here change check its startup type is set to automatic. Now switch to the Dependencies tab, and make sure the dependency services listed here are running. In this case, the dependency service is Remote Procedure Call service. So ensure it is Running and have Automatic Startup type. continue Reading……