Transform your home with our tutorial for our DIY Dining Room Open Shelving! Customize the size to fit your space!
Over year ago I wrote a post about how I wanted to add a big wall of shelving to our dining room. And for over a year, I’ve been patiently waiting for it to happen. That sentence itself is ironic, because even though I like to think that I’m a patient person, in many cases I’m not. Especially when I know what I want to have done, can mentally see it finished, and walk by it everyday knowing it needs done. It. Eats. At. Me.
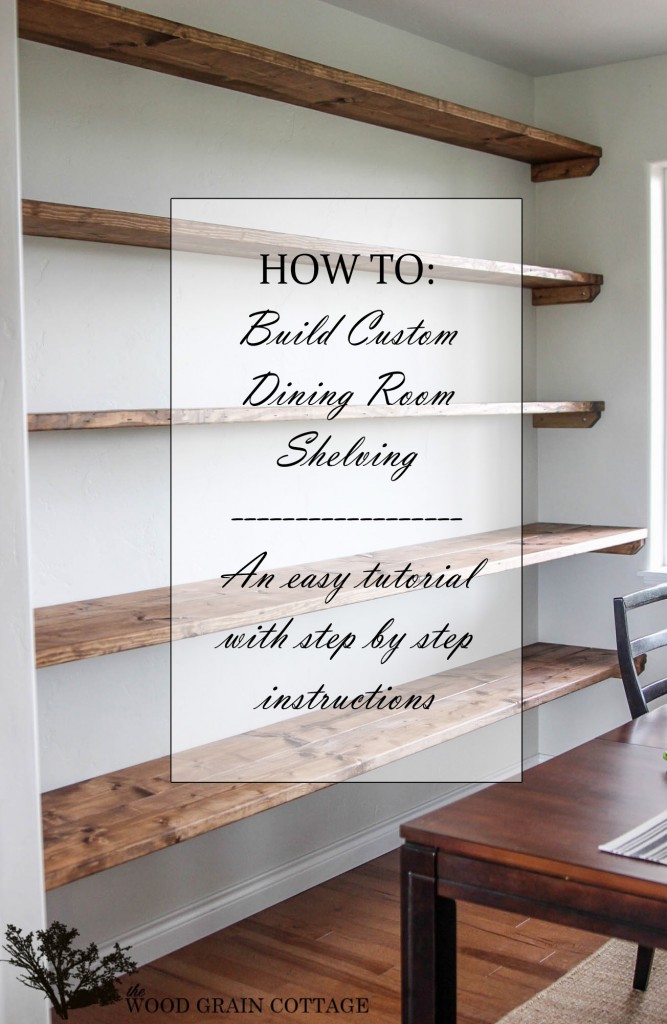
That’s why last weekend was such a success. On a split decision, I decided to paint the dining room. And before the paint was even dry, literally, I had managed to succeed at sweet talking Anthony into DIY’ing some custom dining room open shelving. He was all for it, I was all for it, so we dropped everything and ran to Home Depot for the supplies. Here’s what they look like built, stained and installed….

How To Build DIY Dining Room Open Shelving:

Affiliate links are provided below. Full disclosure here.
Supplies:
Step One: Measure Wall
First, Anthony started measuring the wall to determine where exactly we wanted to place the shelves…

Step Two: Cut & Install Shelving Supports
Then, we headed off to Home Depot and bought the lumber we needed to make the shelves.
We bought 2″ x 3″ boards for the shelving supports on the side of each wall, and Anthony made a few angle cuts to give them a little bit of dimension…

Then, he placed them on the wall, made sure they were level and screwed them into the wall with massive drywall/cabinet screws, each one of those screw holds over 100 pounds!

Once he had the screws in place, he removed them. I know, odd, but we wanted to have the exact location for each side support, then pre-drill/ countersink the holes to avoid any splintering/ wood splitting when we actually installed them after they were stained, finished and ready to go. I really didn’t want to be staining in the house, so this step was simply a precaution to avoid the wood chipping/ splintering from the screws…
Anthony pre-drilled and countersunk his holes…


Step Three: Stain Shelving Supports
Once he had the holes done, I started staining them with Early American by Minwax…

Here’s what they looked like before we installed them… The smaller hole is for the cabinet screw going directly into a wall stud, the bigger hole is for the drywall anchors that would be going into just sheet rock…

Step Four: Install Shelving Supports
Then, we installed them on the wall. We made sure they were level…

Then used the cabinet screws and drywall anchors to secure them to the wall…


Step Five: Cut Shelving Boards To Size
Once they were installed, we started custom fitting the 2″ x 12″ x 10 ft boards to each section of shelving.

We measured the distance between the walls, then trimmed the actual shelving boards to fit each section…

And because I wanted the lower two shelves to be deeper than the top shelves, we made the side brackets the same depth as the shelves. The two bottom shelves are 18″ deep, and the top are 11″ deep.
For the top three shelves, we used 2″ x 12″ x 10 ft boards, and for the bottom two shelves, we used 2″ x 10″ x 10 ft boards. To make the bottom shelves even deeper than the top 12″, we used TWO 2″ x 10″ boards and placed them right next to each other. Even though we used two 10″ wide boards, the total depth ended up being 18″ because pre-cut lumber is always a bit smaller than it really says. 😀
Step Six: Stain Shelving Boards & Install
After we had each board cut to size, I started staining each them with the same stain, Early American by Minwax. I then used the Dark Finishing Wax from Minwax to finish them.
Then, we brought the shelves back in and Anthony attached them with 2 1/2″ deck screws into the side supports.


Step Seven: Enjoy!
Once all the shelves were screwed into place, they were ready to use!

You can see the bottom two shelves are definitely deeper, which I love!

They’ve completely changed the entire dining room and I love it… they add so much storage and area to display my pretties, which I’ll be sharing next week…

Now, for some details:
- We have 9 foot ceilings.
- Here’s the distance between each shelf:

- We started with the bottom shelf and worked our way up. Because we have electrical outlets that run on the back and side of the wall, the bottom shelf has a 21″ distance from the floor. The shelf starts right above the outlet.
- The furthest the shelves stick out from the wall is 18″, which is the same depth as our previous buffet!
- No wall is perfectly straight.
- Yes, the house faintly smelled like stain for a few days, but the weather was great and we had every window wide open for extra ventilation! 😀
- For the cost breakdown, we spent about $145.00!! That includes lumber, screws, a new countersink, and stain! Boom!
- Just in case you missed that, $145 for an entire wall of beautiful shelving… Double boom!
UPDATED TO ADD:
We have had absolutely zero issue with sagging boards in the middle of the shelves. It’s been over a year since we installed them, and they still look just as great as the day they went up!
I can’t wait to show you what they look like now, all filled up and styled… DIY Dining Room Open Shelving for the WIN!
P.S. If you like shelving/ bookcases as much as I do, be sure to check out my pinterest board. It’s all about it!