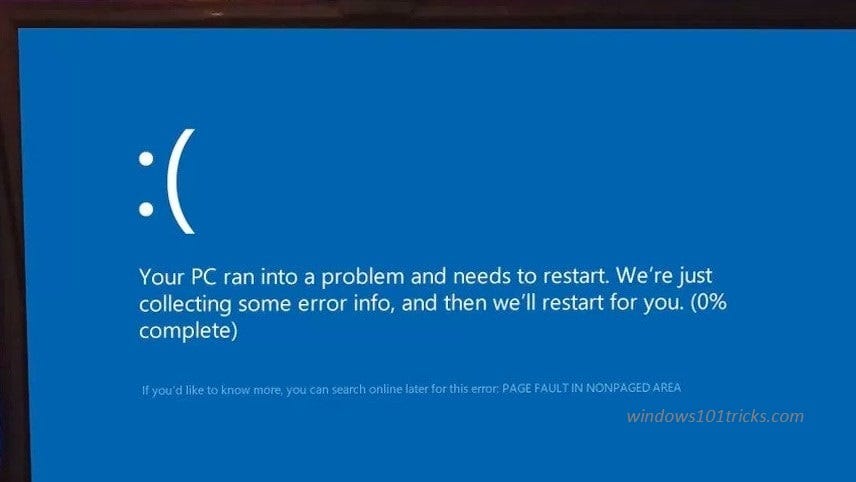
Page_fault_in_nonpaged_area blue screen is caused when Windows not find a file within memory that it expects to find. In most cases, this issue is related to your device’s memory, either main memory, processor memory, or video card memory. And the most important the Virtual memory (pagefile.sys) when you’re running lots of programs with heavy memory consumption. If the size of the paging file is not handled by Windows, this blue screen may come into play.
Some other factors, such as power outages, Corrupted system files, Windows updates or driver conflicts from the software side or faulty RAM on the hardware side etc also cause this blue screen of Death error.
To Fix the page_fault_in_nonpaged_area blue screen
If Windows frequently restarts with this BSOD at startup. That causes you need to Boot into safe mode, where Windows start with minimum system requirements and allow to perform troubleshooting steps below.
Note: If after one restart Windows start normally then no need to boot into safe mode, you can directly apply the troubleshooting steps below to fix and avoid feature Blue screen error on Windows 10.
Disable Security Software
This error is sometimes caused by interference from third-party antivirus software. To see if that’s the problem for you, temporarily disable your antivirus and check if the problem persists. If this resolves the problem, contact the vendor of your antivirus software and ask them for advice, or install a different antivirus solution.
Uninstall third-party application
Also, if you notice the problem started after installing any third-party application simply press Windows + R, type appwiz.cpl click ok. From programs and features, right-click on recently installed applications and select uninstall.
Tweak virtual memory
Type appearance and performance on the start menu search and hit Enter. On the performance options window, move to the Advanced tab. Here, under virtual memory, click on Change.
In the Virtual Memory window shown below, uncheck Automatically manage paging file size for all drives option. Select the radio button No paging file and click on Set as shown image below. Click Apply, followed by OK, when you’re done.
Disable Fast Startup
You can disable the fast startup option from open Control Panel -> All Control Panel Items -> Power Options -> Choose what the power buttons do -> change settings that are currently unavailable and then uncheck the fast startup option as show image below. Click ok and apply to make save changes.
Check Disk errors
Open the Command Prompt as administrator. Type chkdsk C: /f /r and press enter key.
Note: CHKDSK is short of Check Disk, C: is the drive letter you want to check, /F means fix disk errors and /R stands for recover information from bad sectors.
When it prompts “Would you like to schedule this volume to be checked the next time the system restarts? (Y/N)”. Answer Yes to that question by pressing the Y key on your keyboard and press Enter. Restart your computer, this will check disk drive for error and fix if any errors found.
Repair System files using SFC
Again open the command prompt as administrator type sfc /scannow and hit the enter key. This will start the scanning process for missing, corrupted system files, if found any the SFC utility will restore them from a special folder located on %WinDir%\System32\dllcache. Continue Reading…
