The HYPERVISOR_ERROR is usually a sign that something’s wrong with how virtualization is configured or managed by your system.

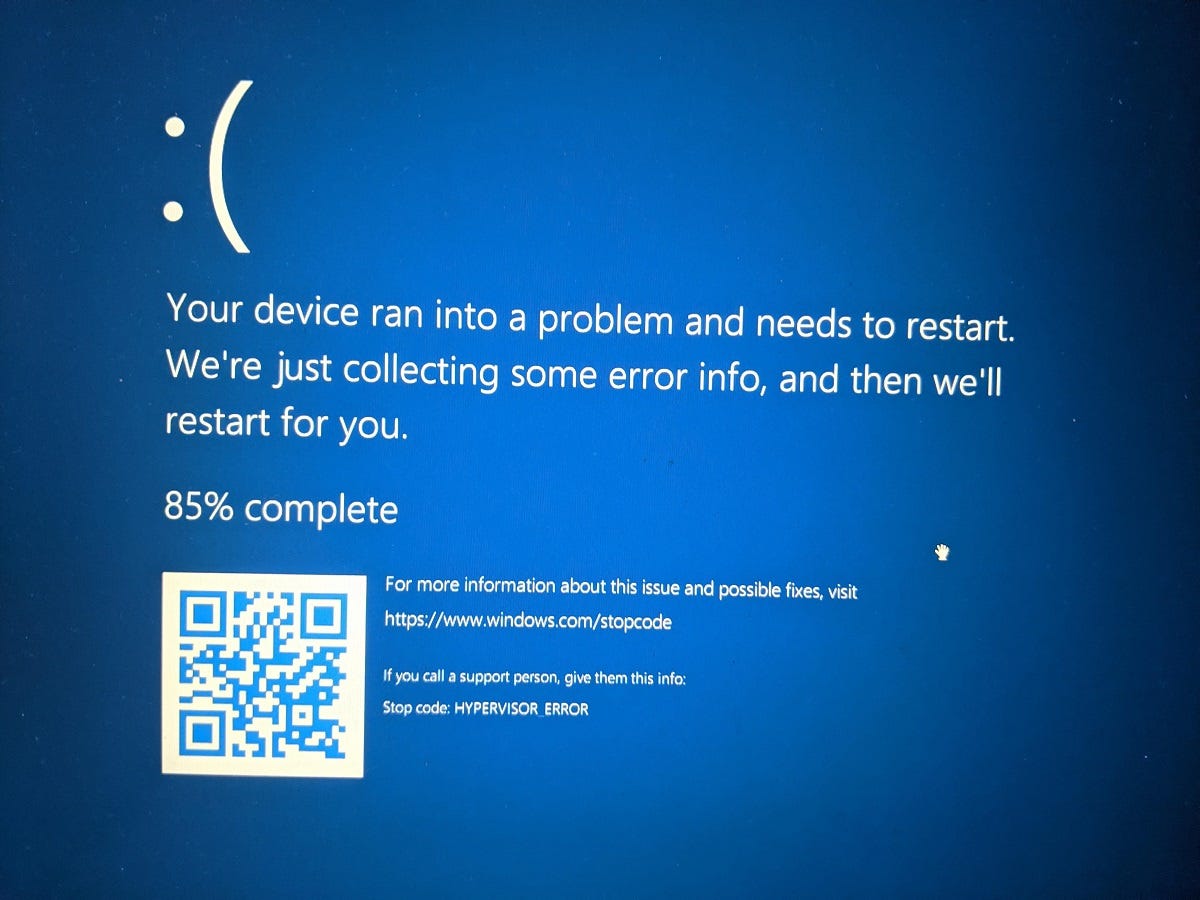
A hypervisor is a piece of software that allows a single computer to run multiple operating systems or virtual machines (VMs) concurrently. Well, you may encounter HYPERVISOR_ERROR on your Windows 10 or 11 machine with a stop code like 0x00020001 while using virtualization features used by Windows Hyper-V or third-party virtual machines. This error indicates that the hypervisor has encountered a critical problem and cannot continue functioning. This typically results in a system crash or a Blue Screen of Death (BSOD).
How to Fix HYPERVISOR_ERROR in Windows
A common reason for a HYPERVISOR_ERROR, often manifesting as a Blue Screen of Death (BSOD), is hardware incompatibility, particularly with virtualization technologies like Intel VT-x or AMD-V, or issues with drivers, especially those related to virtualization.
- Outdated or Incompatible Drivers: Problems with device drivers, especially those related to virtualization, can trigger this error.
- Hardware Issues: Problems with hardware components, such as the CPU or RAM, can also lead to hypervisor errors.
- Virtualization Problems: If virtualization is not enabled or supported by your system, or if there are conflicts with other software, it can cause hypervisor errors.
- Corrupted Virtual Machine Files: Damaged virtual machine image files can also lead to this error.
1. Restart Your PC and Remove Unnecessary Devices
Sometimes, the simplest solution works. A basic restart can clear up temporary system conflicts. Again, Certain external devices or their drivers can cause issues with virtualization or interrupt system-level functions. Before rebooting, unplug all unnecessary external devices like USB drives or peripherals, which might be interfering with system operations.
2. Check Virtualization Support in BIOS/UEFI
Next, check and ensure that virtualization is enabled in your system firmware. Hyper-V and other hypervisor features rely on virtualization support from your processor. If it’s off, the system can crash trying to use those features.
How to check and enable virtualization:
- Reboot your PC and enter BIOS/UEFI (usually by pressing
Del,F2, orEscduring startup). - Look for a setting labeled Intel VT-x, AMD-V, or SVM Mode.
- Make sure it’s enabled. Save and exit.
3. Disable Hyper-V (If Not Needed)
If you’re not actively using Windows’ Hyper-V features or virtual machines, disabling it might prevent conflicts. Disabling Hyper-V free up system resources and avoids driver conflicts with other virtualization tools.
To disable Hyper-V:
- Open Control Panel and go to Programs > Turn Windows features on or off.
- Uncheck Hyper-V.
- Click OK and restart your PC.
Alternatively, use the Command Prompt (admin) and run: bcdedit /set hypervisorlaunchtype off
4. Update All Device Drivers
Outdated or buggy drivers — especially for network adapters, chipset, or virtualization-related hardware — can trigger hypervisor errors. Keeping them current ensures stable hardware communication.
Compatibility issues from old drivers are a frequent cause of BSODs.
- Right-click the Start button, choose Device Manager.
- Expand critical sections like Network adapters, Processors, and System devices.
- Right-click and choose Update driver.
- Select Search automatically for drivers.
You can also use the manufacturer’s website or a driver update tool for more control.
Run System File Checker and DISM Tools
Corrupt or missing system files can disrupt how Windows handles virtualization. Run built-in tools: System file checker and DISM restorehealth to repair Windows system files that might be contributing to the error.
- Open Command Prompt as Administrator.
- Run command: sfc /scannow and DISM /Online /Cleanup-Image /RestoreHealth
- Let the scanning complete 100%, and restart your computer to check if this helps fix the hypervisor error.
6. Uninstall Recent Updates (If Error Started Recently)
Windows Updates sometimes introduce bugs or incompatibilities. If the error appeared after a recent Windows update, that update may be incompatible with your hardware. Rolling them back can restore stability.
- Go to Settings > Windows Update > Update History.
- Click Uninstall updates.
- Choose the most recent patch and click Uninstall.
7. Perform a Clean Boot to Rule Out Third-Party Conflicts
A clean boot starts Windows with only essential services and drivers. If a background app or service is interfering with virtualization, this will help isolate it.
- Press
Win + R, typemsconfig, and hit Enter. - Under the Services tab, check Hide all Microsoft services, then click Disable all.
- Go to the Startup tab > Open Task Manager > disable all items.
- Reboot your PC.
Sometimes, faulty RAM can cause virtualization-related crashes. Press Win + R, type mdsched.exe, and hit Enter. Choose Restart now and check for problems to Run Memory diagnostic tool, that probably help fix memory related errors that might be causing the BSOD error.