A custom-built entertainment center is the perfect solution for organizing your media devices, storing accessories, and creating a stylish focal point in your living room. The beauty of building your own entertainment center is that you can customize it to fit your space, budget, and aesthetic preferences. Best of all, creating one from scratch can be a fun and rewarding DIY project, even for beginners.
Here’s a step-by-step guide on how to build a simple entertainment center from scratch, along with tips and tricks to help you get it just right.
1. Plan Your Design
Start by determining the size, layout, and style of your entertainment center to ensure it meets your needs.
- How to Do It:
- Measure the space where the entertainment center will go, including the width, height, and depth.
- Decide how much storage you need—whether it’s shelves for devices, cabinets for hidden storage, or a mix of both.
- Sketch a rough design with key elements, such as open shelving, cubbies, or drawers.
- Why It Works: Planning ensures that your entertainment center fits your space and functions the way you need it to.
Pro Tip: Account for extra space around your TV for ventilation and a balanced look. A good rule of thumb is to make the center at least 4–6 inches wider than the TV.
Having all your materials and tools ready will make the building process smooth and efficient.
- Materials Needed:
- Plywood or MDF (medium-density fiberboard) for the frame and shelves
- 2×4 or 1×4 boards for supports
- Wood screws or nails
- Wood glue
- Paint, stain, or veneer for finishing
- Hardware (hinges, knobs, or drawer slides if needed)
- Tools Needed:
- Circular saw or table saw
- Power drill and screwdriver
- Measuring tape
- Level
- Clamps
- Sandpaper or power sander
- Paintbrush or roller
- Why It Works: Using durable materials and reliable tools ensures that your entertainment center is sturdy and long-lasting.
Pro Tip: Buy pre-cut wood from a hardware store if you don’t have access to a saw.
3. Build the Base
The base is the foundation of your entertainment center and provides stability.
- How to Do It:
- Cut a piece of plywood or MDF for the bottom panel.
- Attach 2×4 boards or wooden legs to the bottom to elevate the structure off the ground.
- Secure the legs with screws and reinforce with wood glue for extra stability.
- Why It Works: A solid base ensures that your entertainment center can safely support the weight of your TV and other items.
Pro Tip: Add felt pads or rubber stoppers to the bottom of the legs to prevent scratching your floors.

4. Assemble the Frame
The frame forms the main structure of your entertainment center, including the sides, top, and back.
- How to Do It:
- Attach vertical side panels to the base using screws or nails.
- Add a horizontal top panel to complete the frame.
- Reinforce the structure with interior support beams or braces to prevent wobbling.
- If you want a back panel, attach a piece of plywood to the frame using nails or a staple gun.
- Why It Works: The frame provides the structure and shape of your entertainment center while supporting the shelves and TV.
Pro Tip: Use a level to ensure the frame is square and even before securing it.
5. Add Shelves and Storage
Shelves and storage compartments allow you to organize your devices, media, and decor.
- How to Do It:
- Cut plywood or MDF to your desired shelf dimensions.
- Attach the shelves to the frame using L-brackets, screws, or wooden cleats for support.
- For cabinets or drawers, install hinges, handles, or drawer slides as needed.
- Why It Works: Shelves and storage compartments provide functionality and make the entertainment center versatile.
Pro Tip: Leave enough space between shelves for larger devices like gaming consoles or soundbars.
6. Sand and Prep the Wood
Prepping the wood ensures a smooth and polished finish for your entertainment center.
- How to Do It:
- Sand all surfaces, edges, and corners with sandpaper or a power sander until smooth.
- Wipe away dust and debris with a damp cloth.
- Why It Works: Sanding removes splinters, sharp edges, and rough patches, giving the wood a professional look and feel.
Pro Tip: Use finer grit sandpaper (220 or higher) for a smoother finish before painting or staining.
7. Paint, Stain, or Finish
Choose a finish that matches your decor and protects the wood from wear and tear.
- How to Do It:
- Apply wood stain with a cloth for a natural look, or use paint for a colorful or modern finish.
- Seal with a clear polyurethane topcoat for durability.
- Let each coat dry completely before applying the next.
- Why It Works: A good finish enhances the beauty of the wood and protects it from scratches and moisture.
Pro Tip: Use a foam roller for an even application, and lightly sand between coats for a smooth finish.

8. Install Cable Management Features
Keep your cables organized and out of sight for a clean, clutter-free look.
- How to Do It:
- Drill small holes in the back panel for cable pass-throughs.
- Use adhesive cable clips or a cord cover to secure cables along the back of the frame.
- Add a power strip to the interior of the entertainment center for easy access to outlets.
- Why It Works: Cable management prevents tangles and keeps your entertainment center looking tidy.
Pro Tip: Label your cables with tags or tape to make it easier to identify them later.
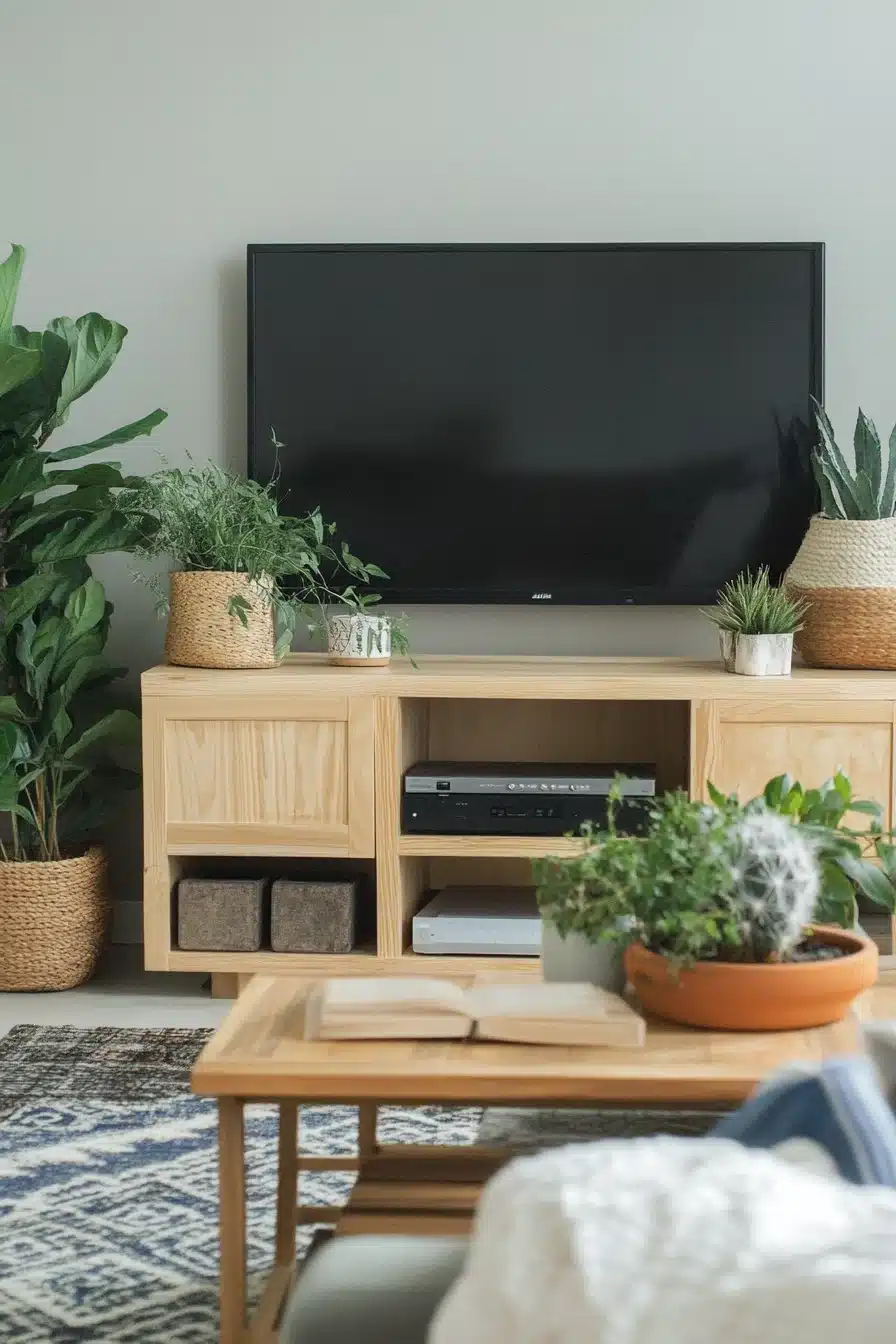
9. Style and Decorate
Now that your entertainment center is complete, it’s time to style it!
- How to Do It:
- Add baskets or bins for hidden storage.
- Decorate shelves with books, vases, framed photos, or small plants.
- Incorporate LED strip lights or puck lights for added ambiance.
- Why It Works: Styling turns your entertainment center into a decorative focal point while keeping it functional.
Pro Tip: Use a mix of vertical and horizontal decor elements for a balanced and visually pleasing display.

FAQs
1. What’s the best wood for building an entertainment center?
Plywood and MDF are cost-effective options, while hardwoods like oak or birch provide durability and a polished finish.
2. How do I determine the size of my entertainment center?
Measure the width of your TV and add at least 4–6 inches on each side for a balanced look. Ensure the height and depth fit comfortably in your space.
3. Can I build an entertainment center without power tools?
Yes! Pre-cut wood and simple tools like a hammer, nails, and wood glue can help you create a basic design without power tools.
4. How do I make sure my entertainment center is sturdy?
Reinforce the frame with braces or support beams, and use screws and wood glue for secure joints.
5. Should I paint or stain my entertainment center?
It depends on your style preference. Paint works well for modern or colorful designs, while stain highlights natural wood grain for a rustic or classic look.
6. How much weight can a DIY entertainment center hold?
This depends on the materials and construction. Reinforce shelves and use thicker wood to safely hold heavier items like TVs or speakers.
7. What tools do I need for cable management?
A drill, cable clips, zip ties, and a power strip are essential for organizing cables effectively.
8. Can I add doors to my entertainment center?
Yes! Attach cabinet doors with hinges to hide clutter while maintaining a sleek look.
9. How long does it take to build an entertainment center?
For a simple design, it can take a weekend (2–3 days), including time for assembly, sanding, and finishing.
10. Can I customize my entertainment center?
Absolutely! Add features like drawers, floating shelves, or lighting to suit your specific needs and aesthetic preferences.
By following these steps, you can build a simple entertainment center that perfectly suits your living room and reflects your style. Enjoy the satisfaction of creating a functional, stylish piece that you can use and admire for years to come!