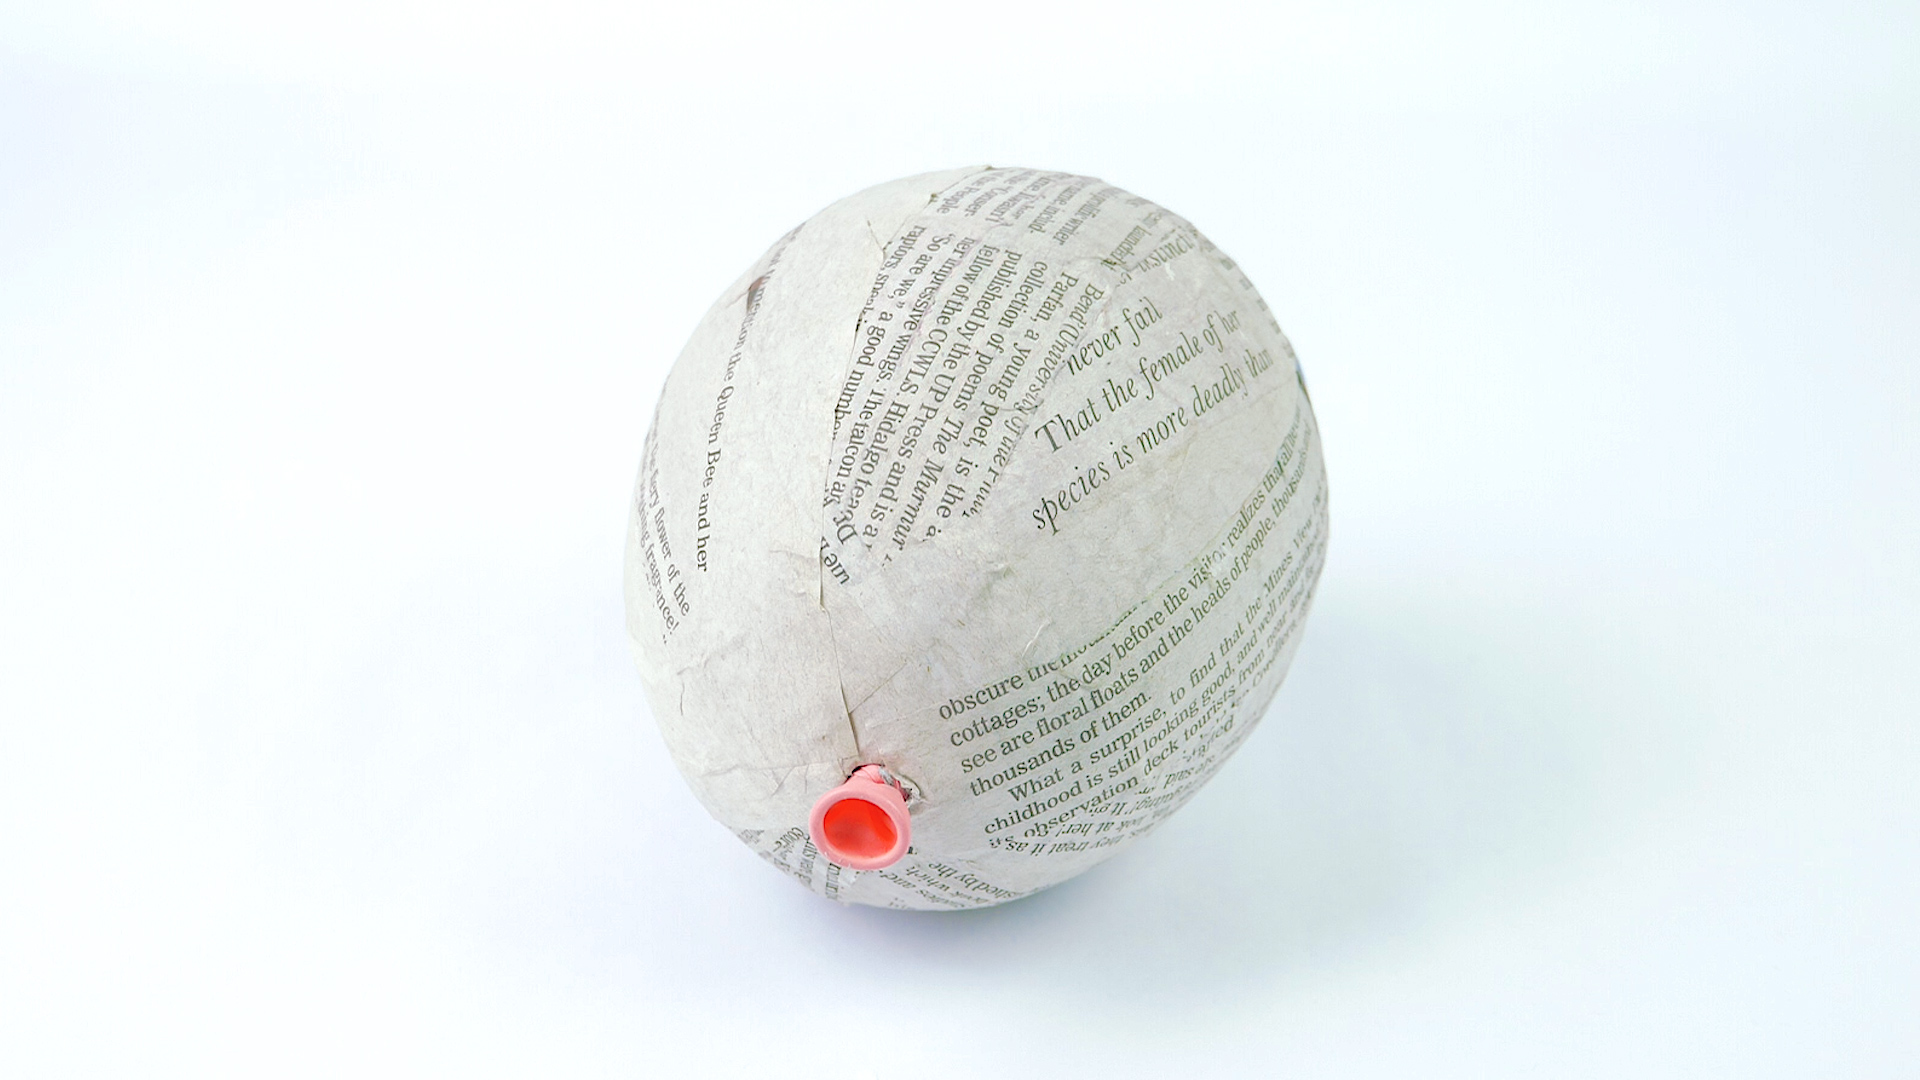
To make papier mâché, first add 2 cups (240 grams) of flour and 1 cup (240 milliliters) of water to a large bowl. Stir the flour and water together until a paste forms, then set the paste aside. Next, tear or cut enough 1-inch wide strips of newspaper to cover the object you’re papier mâchéing 3 times. When you’re done, dip the strips into the papier mâché paste, and press them onto your object. Continue dipping and pasting the strips until your object is completely covered. Then, let the first layer dry, which should take about 2 to 3 hours. Place a fan next to the object to help the papier mâché dry faster. Repeat the process 2 more times so you have 3 layers in total. Then, paint and decorate your papier mâché object. For other ways to papier mâché, including how to use a glue mixture or a wallpaper mixture as your base, read on!
Article SummaryX
Thanks to all authors for creating a page that has been read 3,393,233 times.
Co-authored by:
Arts & Crafts Specialist
Co-authors: 137
Updated: July 6, 2025
Views: 3,393,233