Recently some of my clients replaced their working PCs with latest DELL Desktop pre-installed Windows 10. To do business in China🇨🇳 they deadly need return to Win7 and asked me – a web developer – for help. With more than 15 years’ expereince reinstalling Windows every once a while I thought myself being quite familiar with this job thus took both installable CD and USB to deliver extra service.
At that moment I had no idea at all that the latest motherboards stopped integrating some necessary setup supporting Win7 and adjustments must be handled manually throughout the process.
1. Boot Problem: BIOS setting
The first hurdle came at the very beginning. The brand new computers couldn’t load either installable CD or USB disk even though both ways have been enabled in BIOS settings.
Here’s the solution: select the correct firmware mode during bootup.
Rrestart your PC, press the key that opens the boot device menu. For example, press the Esc, F2, F9, F12, or other key to enter the firmware or boot menus.
Latest PCs have been set to EFI mode by default. You must change to the Legacy mode instead. There will popup security warning and just accept it.
2. Missing Required Driver for CD/DVD Device Error
Now the PC started to load installation disk and we can rearrange harddisk(s) by formatting and partitioning. Just when I clicked the Install button there came the second hurdle. An error message popped up telling me that the required driver for CD/DVD device (either you are using CD or USB) is missing and the whole procedure just ceased.
Googled solutions online, however, most of them suggest insert the installation disk to a port USB2.0 instead of 3.0, which unfortunately didn’t solve my problem. So annoyed I turned to Baidu and finally found some new explanations that made a sense.
The error is caused by missing driver in your Win7 installation files for supporting the newer type of motherboard which uses XHCI (Extensible Host Controller Interface) instead of old EHCI (Enhanced Host Controller Interface). It could be solved by equipping your installable USB with a software provided by motherboard manufacturers.
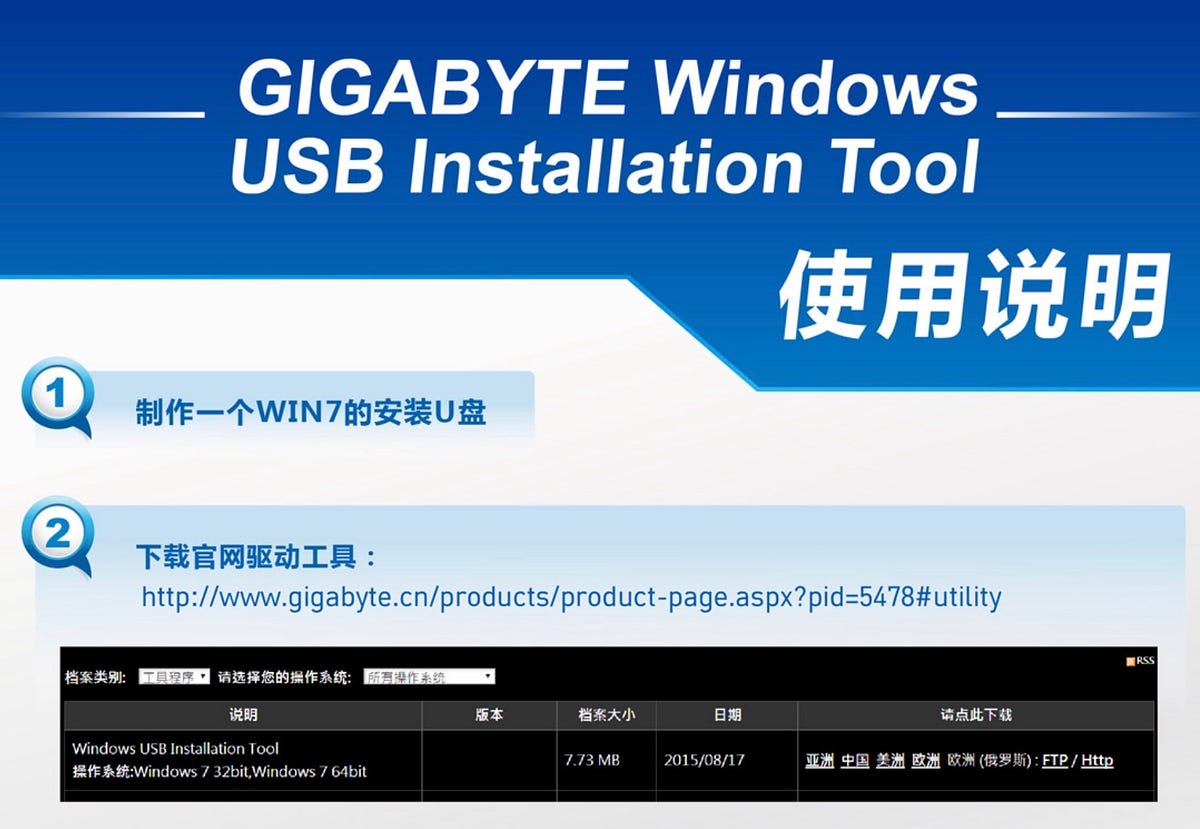
Gigabyte has delivered an easy solution: Download “Windows USB Installation Tool” from Gigabyte official website. Unzip the package, run the “WindowsImageTool” and point to your ready-to-use Win7 installation USB. It takes about 15mins to finish.


By manually adding driver to the installation disk we successfully solved the problem.
3. Windows Can’t Be Installed Onto GPT Partitioned Disk Error
Finally it’s able to install. Just when I thought everything would move forward smoothly, here came the third hurdle. The system refused to install Win7 into any of my partition.
This time I found the solution quickly:
When system sends an error notification, press “Shift+F10″ to call out the “cmd” window. Then execute the commands below step by step:
- type “diskpart”, press return;
- type “list disk”, press return;
- type “select disk 0“, press return;
- type “clean”, press return;
- type “concert mbr”, press return;
- type “create partition primary size=XXX”, press return; */XXX is the main partition size as per your decision counted in MegaByte/*
- type “format fs=ntfs quick”, press return;
- type “exit”, press return;
- type “exit” again, press return.
Now the harddisk has been entirely transformed into MBR format which supports Win7. All hurdles have been cleared eventually.