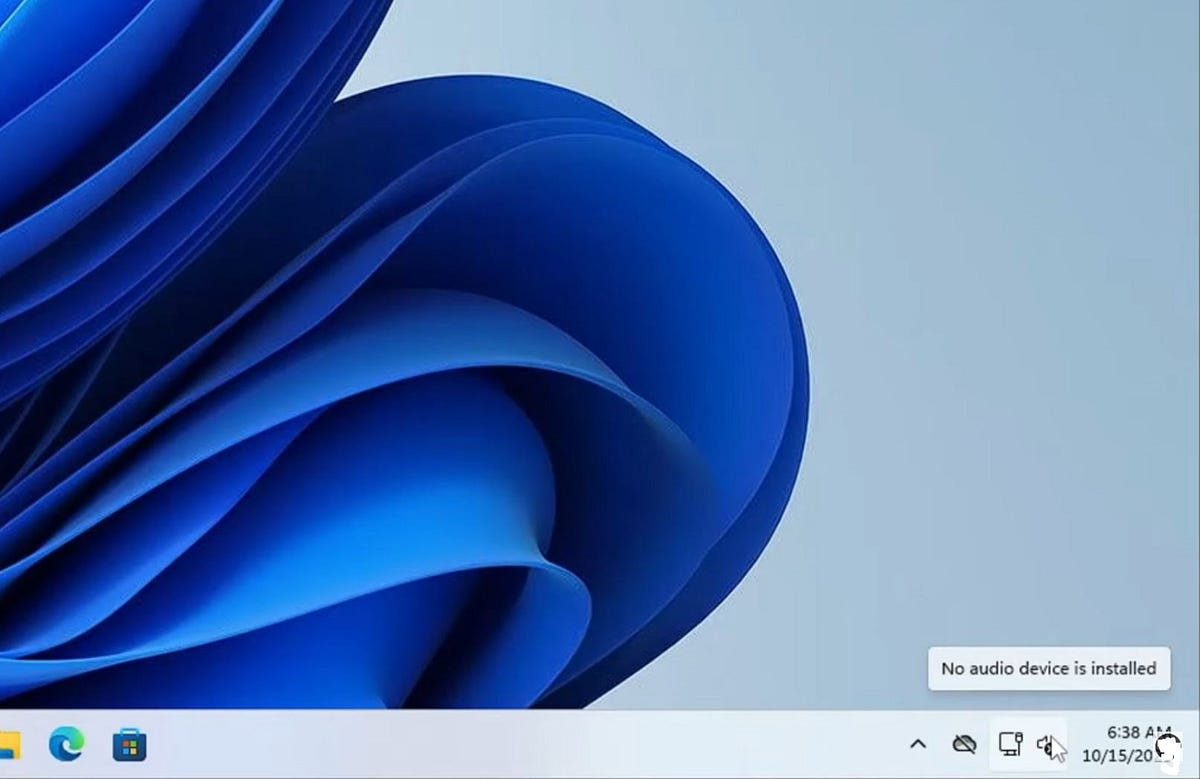

The “No Audio Output Device Is Installed” error occurs when Windows fails to recognize your computer’s audio hardware. This problem can occur for various reasons, such as corrupted drivers, Hardware Failures, system glitches, or even disabled audio services. This article explores detailed troubleshooting steps to help you fix the issue and restore your system’s sound functionality.
Why Does This Error Occur?
As discussed, there are several possible reasons for this error, It can be a temporary glitch, a driver-related issue, or, in some cases, caused by system file corruption.
- Driver Issues: Outdated, missing, or corrupted audio drivers can prevent proper device recognition.
- Disabled Devices: Audio devices that are disabled in system settings or BIOS/UEFI may result in this error.
- Windows Glitches: Temporary bugs introduced by recent updates or conflicts can disrupt audio functionality.
- Hardware Failures: Damaged audio components, such as speakers or sound cards, may cause recognition issues.
- Third-Party Conflicts: Software like driver update utilities might interfere with device detection.
Run the Audio Troubleshooter
Windows offers a built-in troubleshooter to identify and resolve common audio problems:
- Right-click the Speaker icon in the taskbar and select Troubleshoot sound problems.
- Follow the on-screen instructions to diagnose and fix issues.
This tool automates the process of identifying common problems, such as disabled devices or driver conflicts.
Check Audio Services
Audio services must run correctly for your sound system to function:
- Press
Win + R, type services.msc, and hit Enter. - Locate Windows Audio and Windows Audio Endpoint Builder.
- Right-click each service, choose Properties, and set Startup type to Automatic.
- Restart the services if necessary.
Enable Hidden or Disabled Audio Devices
Sometimes, your audio output device may be disabled or hidden in settings:
- Press
Win + R, type mmsys.cpl, and click OK. - On the Playback tab, right-click and select Show Disabled Devices.
- Locate your device, right-click it, and choose Enable.
- Set it as the default device by clicking Set Default.
Update or Reinstall Audio Drivers
Driver issues are a leading cause of audio errors. Here’s how to update device drivers on your Windows computer.
Update Drivers:
- Press
Win + Xand choose Device Manager. - Expand Sound, video, and game controllers.
- Right-click your audio device and select Update driver.
- Choose Search automatically for drivers.
Reinstall Drivers:
- In Device Manager, right-click your audio device and choose Uninstall device.
- Restart your PC. Windows will automatically reinstall the default drivers.
Note: If automatic updates fail, visit your hardware manufacturer’s website to download the latest drivers.
Use the Generic Audio Driver
If proprietary drivers are malfunctioning, switching to the generic Windows driver can help:
- Open Device Manager and expand Sound, video, and game controllers.
- Right-click your audio device and select Update driver.
- Choose Browse my computer for drivers, then Let me pick from a list of available drivers.
- Select Generic Software Device and install it.
Add Legacy Hardware
If your audio device isn’t visible, manually add it in Device Manager:
- Click Action > Add legacy hardware in Device Manager.
- Follow the wizard, select Sound, video and game controllers, and install the necessary drivers.
If software solutions fail, the issue might be hardware-related. Test your device on another PC or try different speakers/headphones. Consult a technician if the problem persists.
Source: https://windows101tricks.com/no-audio-output-device-installed/