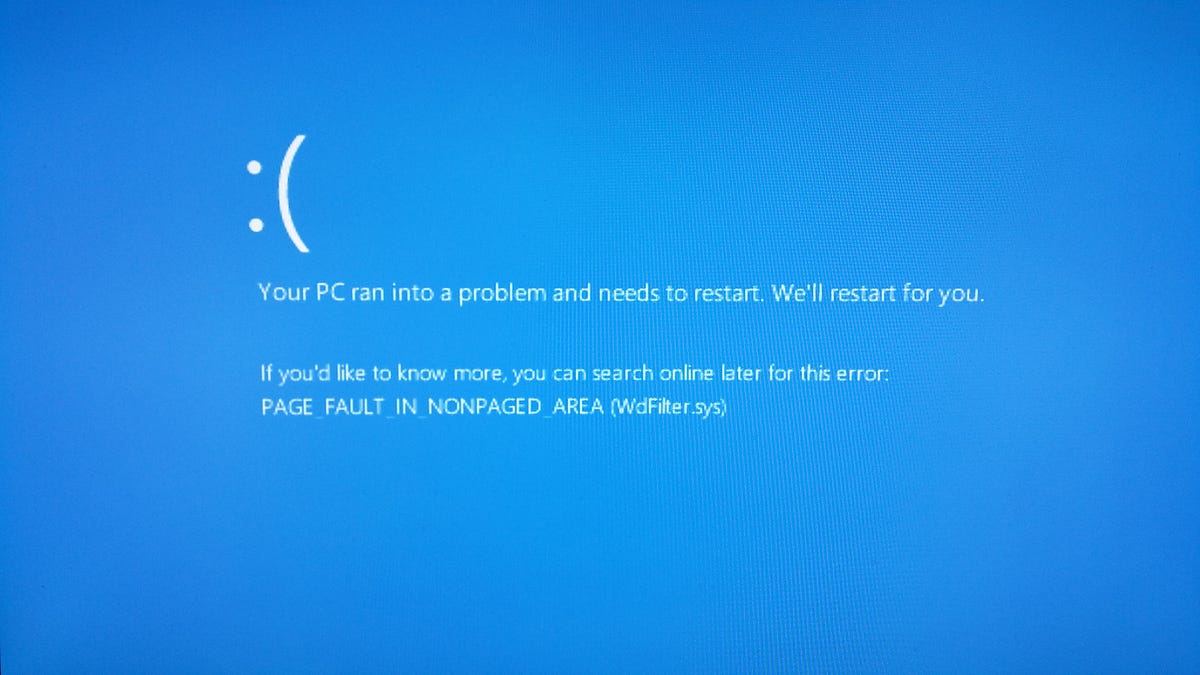

The “Page Fault in Nonpaged Area” error in Windows 11 is a type of blue screen of death (BSOD) error. It occurs when the system encounters a problem with how it’s managing its memory. Specifically, it indicates a situation where data that should have been stored in the system’s RAM ends up being swapped out to the hard drive. This error Page Fault in Nonpaged Area can be caused by various factors such as faulty RAM, driver issues, disk problems, software conflicts, or corrupted system files.
- Faulty RAM Modules: This is one of the most common causes. If your RAM modules are faulty or not seated properly, it can lead to this error.
- Driver Issues: Outdated, corrupted, or incompatible drivers can cause conflicts with the system’s memory management.
- Disk Issues: Problems with the storage device, such as bad sectors or a failing hard drive, can trigger this error.
- Software Conflicts: Certain software, particularly poorly coded or incompatible third-party applications, can cause conflicts in memory management.
- Windows System Files Corruption: If critical system files are corrupted, it can lead to memory-related errors.
Check and Reseat RAM Modules
- Power Off and Unplug: First, shut down your computer completely and unplug it from the power source to ensure safety.
- Open the Case: Carefully open your computer’s case. You might need a screwdriver to do this, depending on your computer’s design.
- Locate the RAM Modules: RAM modules are usually long, rectangular sticks connected to your motherboard. They might have clips on either side that hold them in place.
- Reseat the RAM: Gently release the clips on both sides of the RAM module, if present, and slide the module out of its slot. Now, firmly but gently reinsert it into the same slot. Make sure it’s seated evenly and securely.
- Repeat for Other Modules: If you have multiple RAM modules, repeat this process for each one.
- Close the Case: Carefully close your computer’s case, making sure no cables or wires are pinched or obstructed.
- Restart Your Computer: Plug your computer back in and start it up. Check if the “Page Fault in Nonpaged Area” error still occurs.
If you have multiple RAM modules installed, it’s possible that one of them is faulty.
Update or Roll Back Drivers
- Open Device Manager: Press
Win + Xand select “Device Manager” from the menu. - Locate the Problematic Driver: In Device Manager, look for any devices with a yellow triangle icon next to them. These are the drivers causing issues.
Update the Driver:
- Right-click on the problematic driver and select “Update driver.”Choose “Search automatically for updated driver software” and follow the on-screen instructions.
Roll Back the Driver:
- If you suspect a recent driver update caused the problem, right-click on the problematic driver. Select “Properties” and go to the “Driver” tab. Click “Roll Back Driver” if the option is available.
- Restart Your Computer: After updating or rolling back drivers, restart your computer to see if the error is resolved.
Check Disk for Errors
- Open Command Prompt with Administrative Privileges: Press
Win + Xand choose “Windows Terminal (Admin)” or “Command Prompt (Admin).” - Run CHKDSK: In the Command Prompt window, type
chkdsk /f /rand press Enter. This command will schedule a disk check on the next system restart. - Restart Your Computer: Close all applications and restart your computer. The disk check will start automatically and may take some time to complete.
- Review the Results: After the disk check is finished, you’ll see a report indicating if any errors were found and whether they were repaired.
If you’re not familiar with using command prompts such as CHKDSK, EaseUS Partition Master offers a simple, user-friendly way to repair your disk efficiently.
Run SFC (System File Checker)
- Open Command Prompt with Administrative Privileges as mentioned in the previous solution.
- Run SFC: In the Command Prompt window, type
sfc /scannowand press Enter. - Wait for Completion: The System File Checker will scan and attempt to repair corrupted or missing system files. This process may take a while.
- Review the Results: After completion, you’ll receive a message indicating if any issues were found and repaired.
Check for Malware
- Use a Reliable Antivirus: Ensure you have a trusted antivirus or anti-malware program installed on your computer.
- Update the Antivirus: Make sure your antivirus software is up-to-date with the latest virus definitions.
- Perform a Full System Scan: Initiate a full system scan to check for malware or viruses. Allow the scan to complete.
- Follow Recommendations: If any malware is detected, follow the recommendations provided by your antivirus software to remove or quarantine it.
Check for Windows Updates
- Open Windows Update: Press
Win + Ito open the Settings app, then go to “Windows Update.” - Check for Updates: Click on “Check for updates” and allow Windows to search for and install any available updates.
- Restart Your Computer: After the updates are installed, restart your computer. Sometimes, Windows updates include fixes for system-related errors.
Overheating can lead to various system issues, including memory-related errors. Ensure that your computer is adequately cooled, and all fans are functioning properly. Clean any dust from the internal components and consider improving your system’s cooling if necessary.
Disclaimer: This post contains external links to products. Please carefully review the product details, seller information, and any applicable terms and conditions before making a purchase. We are not responsible for any issues or disputes arising from your purchase.